

Are you ready to learn how to diamond paint? You’ve landed in the right place! See how to master the technique of diamond painting in 12 easy steps and pick up a bunch of pro tips along the way. Diamond Dotz diamond painting kits are the highest quality kits out there and that means a successful experience awaits. Exciting, right?
If this is your first diamond painting, no worries! You’ll quickly discover how easy it is to master diamond painting – it truly is a craft that you can ace in minutes. Ready to get started? Let’s go!
First off, open your kit and familiarize yourself with the components of your Diamond Dotz diamond painting. We’ll use the below-listed terms throughout the application process, so it’s best to know the parts and pieces before you dig in.
- The chart: this is the piece of fabric with the color design printed on it. It’s coated with an adhesive that holds the Diamond Dotz in place. The chart is 100% polyester.
- The Diamond Dotz: these are the diamond facets you’ll use to complete or “paint” the design. They are sorted by shade and each shade is identified by a number printed on its packet.
- The stylus: this is the tool that you will use to pick up each individual dot and place it onto the chart.
- The craft tray: this is the tray that you will pour each shade of Dotz in to.
- The wax caddy: this is the wax that you will dip the stylus in to, to “grab” each individual dot.
- The instruction sheet: each kit has an instruction sheet to guide you each step of the way.
Gather all of the kit components and set them out on a flat, stable work surface – a favorite table, desk or countertop is perfect. A pair of scissors will come in handy to open the Diamond Dotz packets, so grab a pair of those, too.
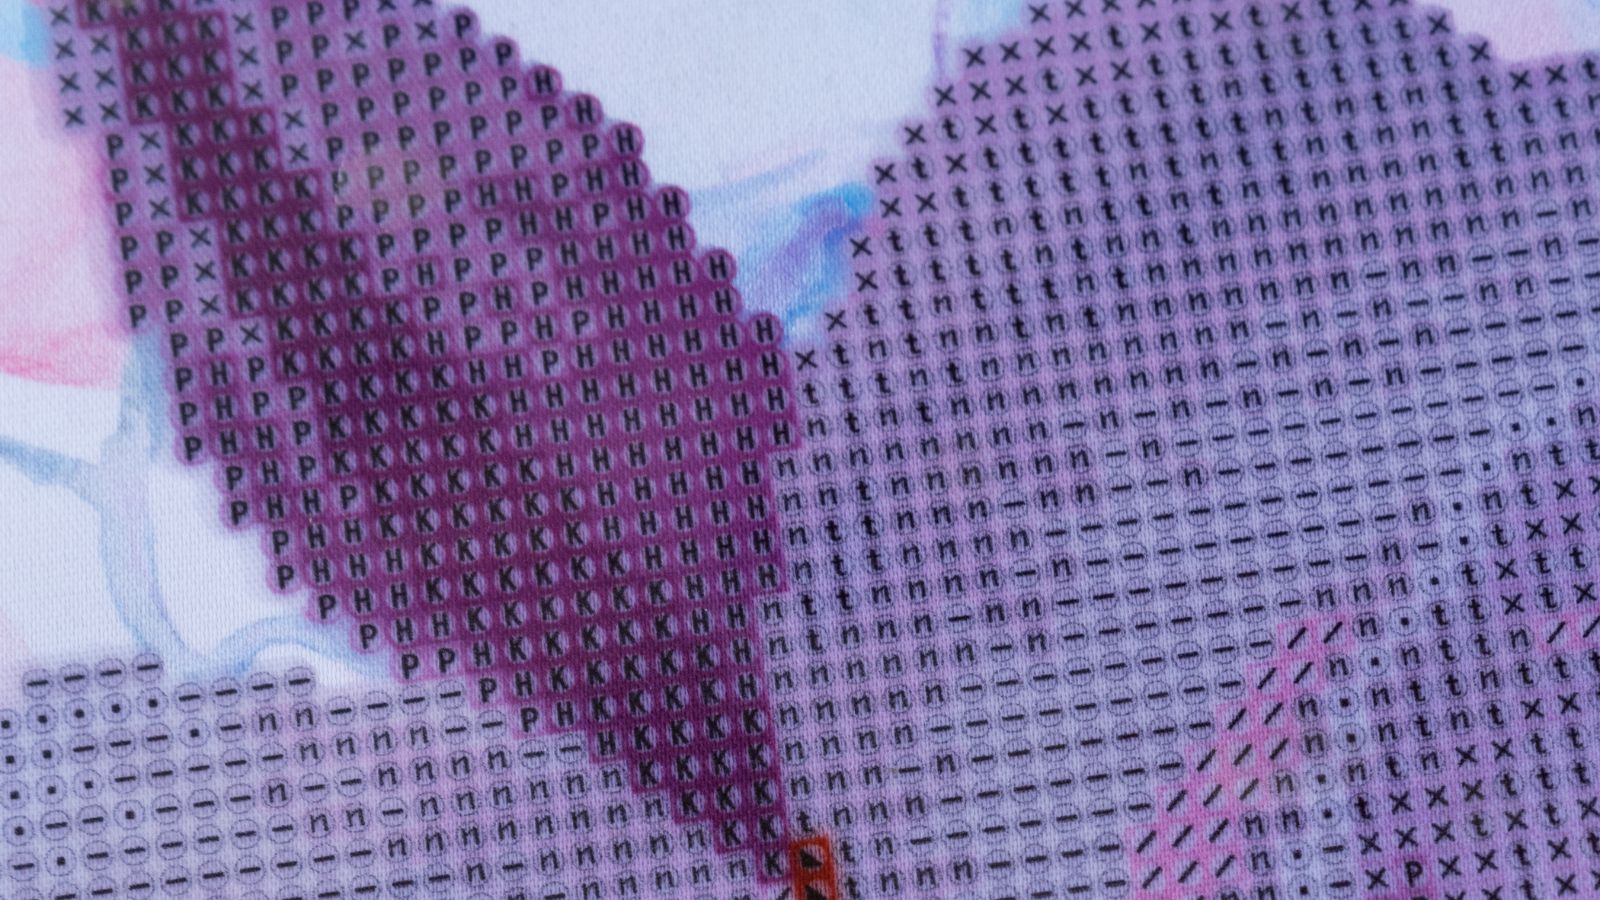
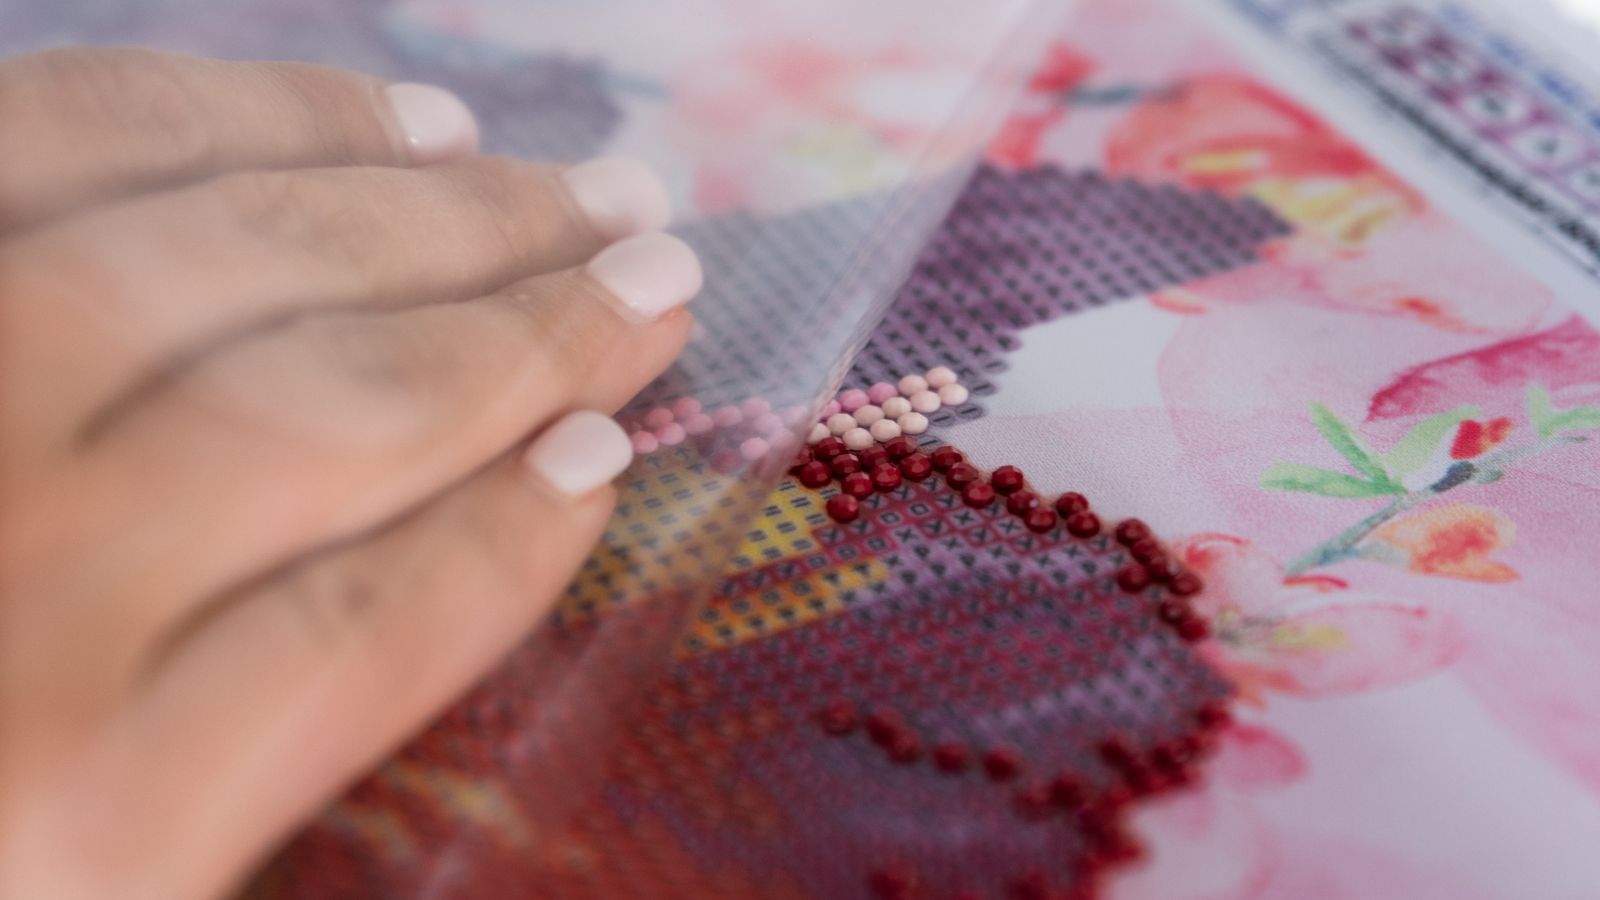
This is the Diamond Dotz chart.
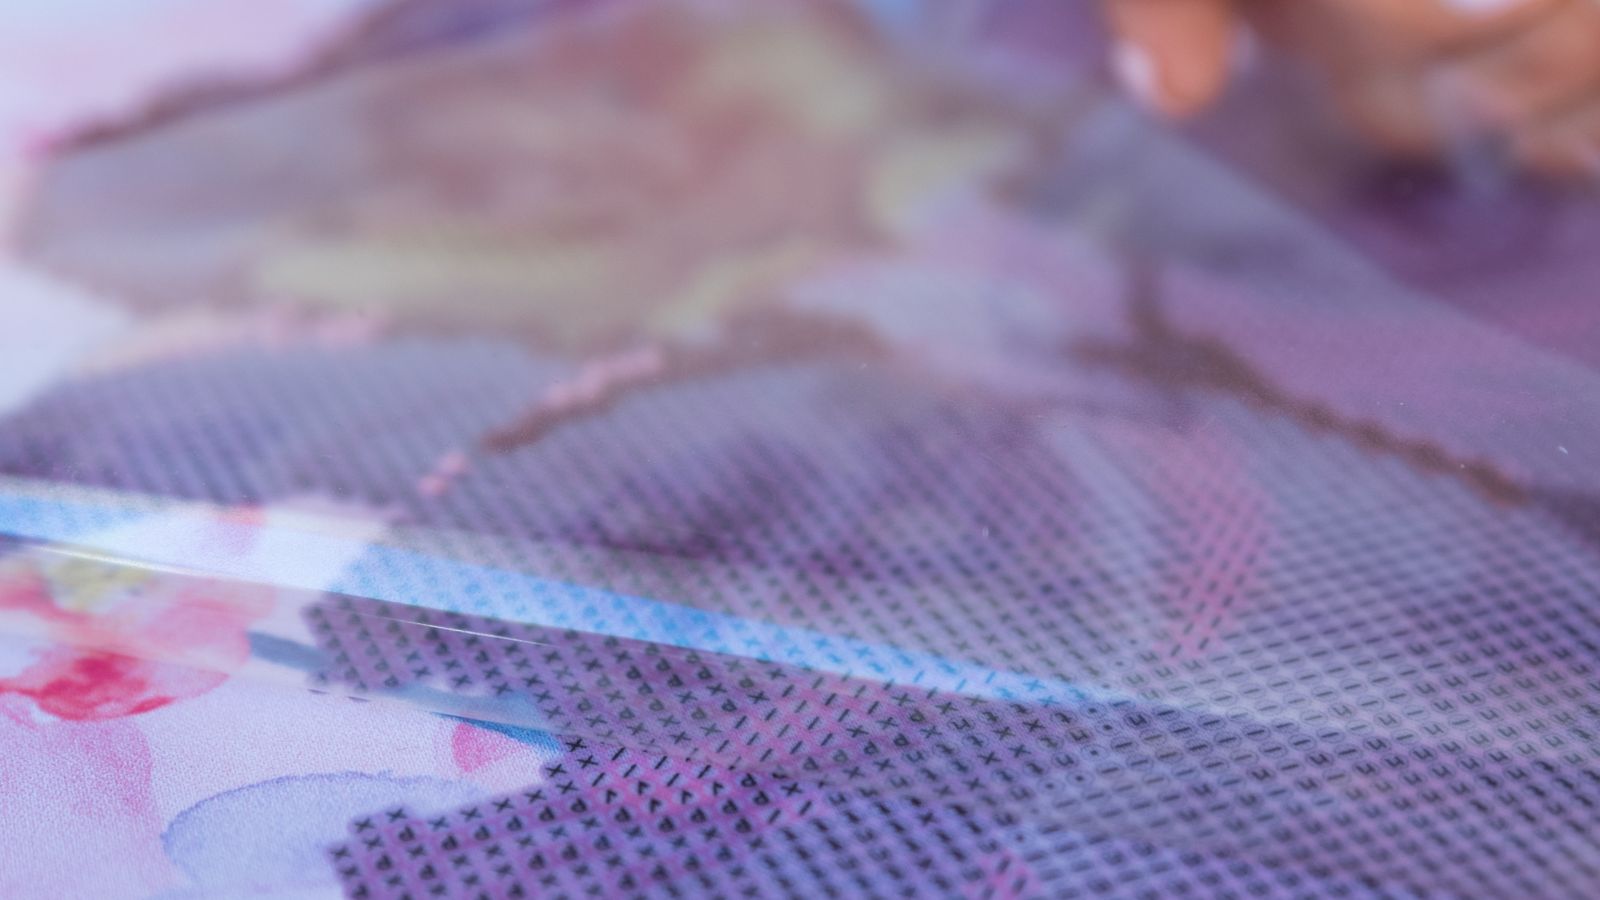
Peel back the protective film from the first area to be worked. It is recommended to start at the bottom edge of a design and work up.
TIP: Do not remove the protective film from the whole design. Rather, gradually peel back the protective film as you progress. Wash hands before working.

The charted area is preprinted with a special adhesive.
TIP: Take care to re-cover the adhesive area with the protective film when you are not working on your project. This saves the adhesive surface from becoming dry and/or gathering dust.
Identify the first symbol on the chart to be worked.
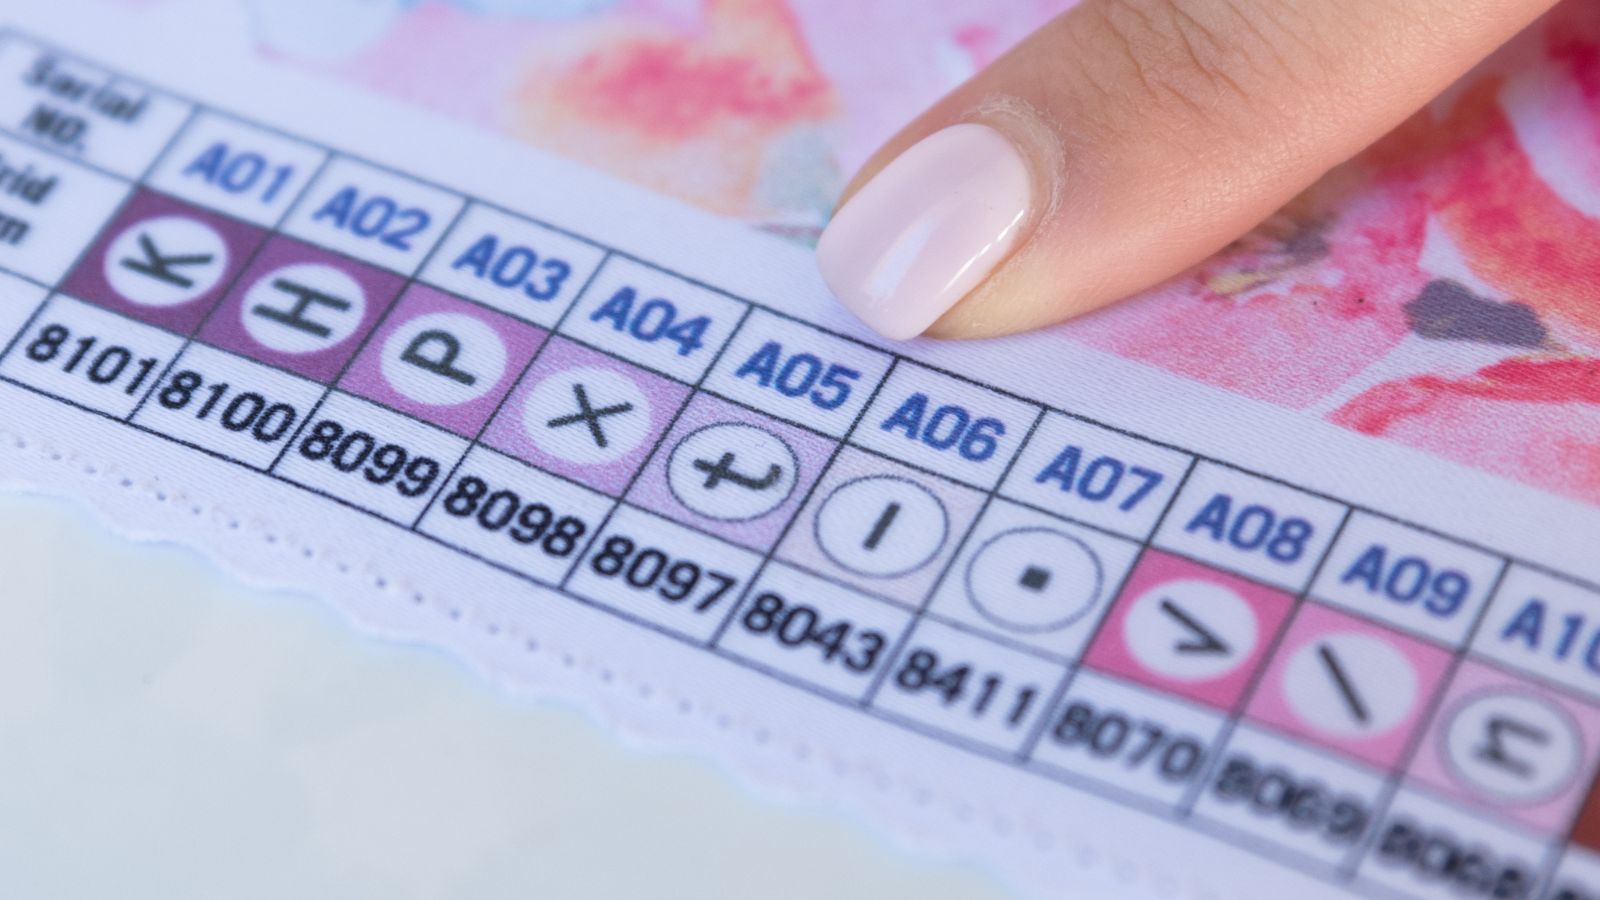
Locate the symbol & Diamond Dotz number on the key at the side of the design.

Identify the Diamond Dotz packet shade number.
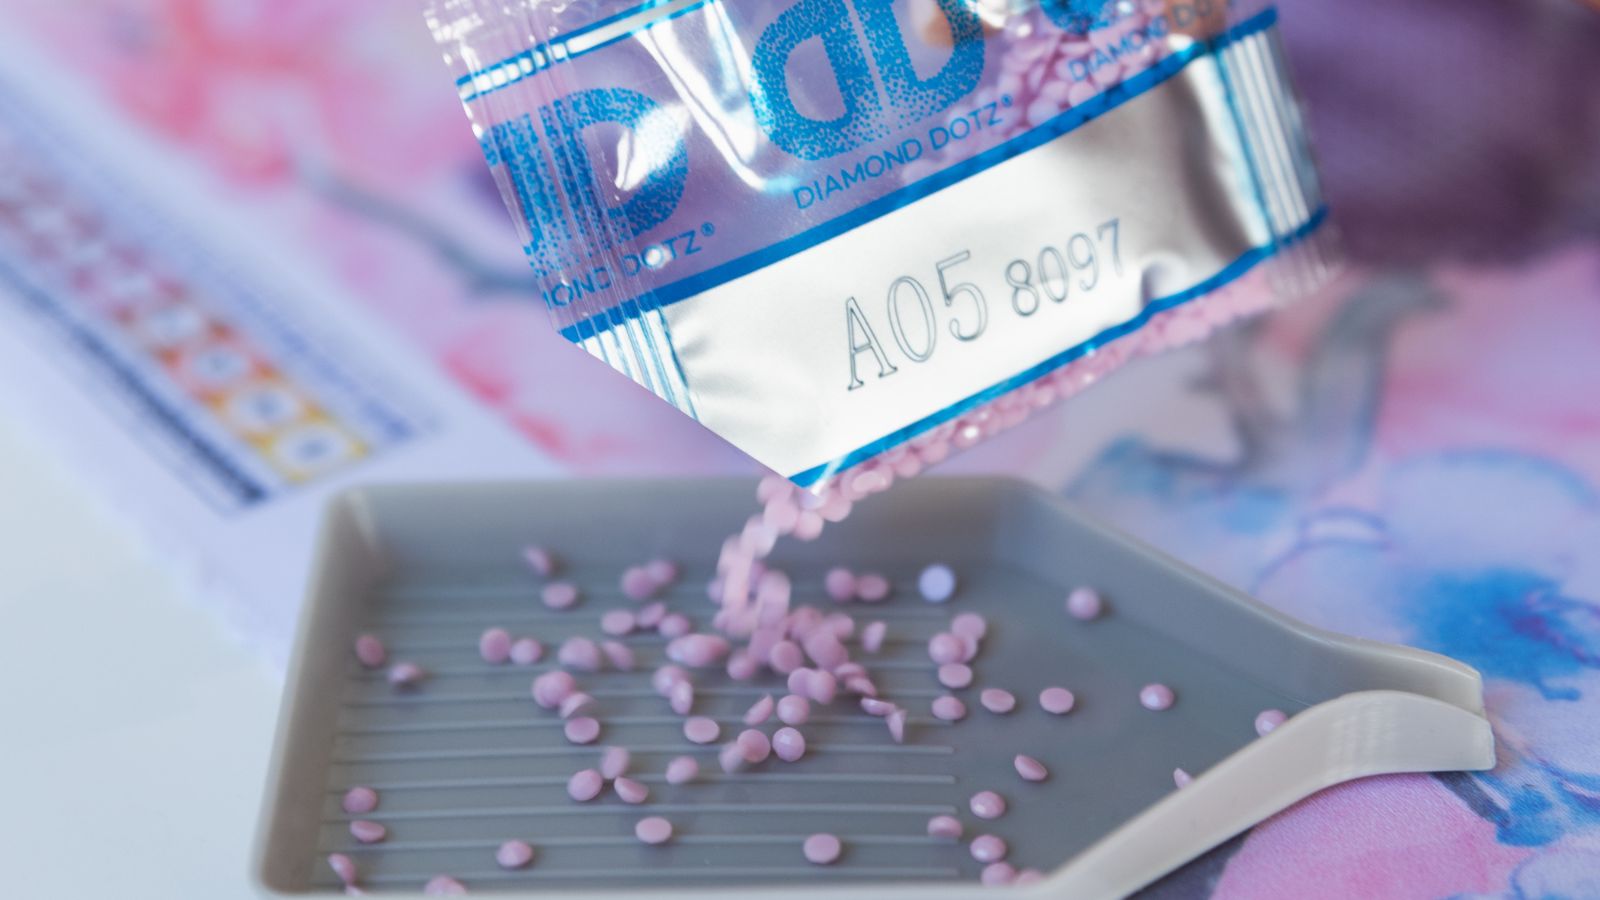
Pour the Diamond Dotz into the Diamond Dotz tray.
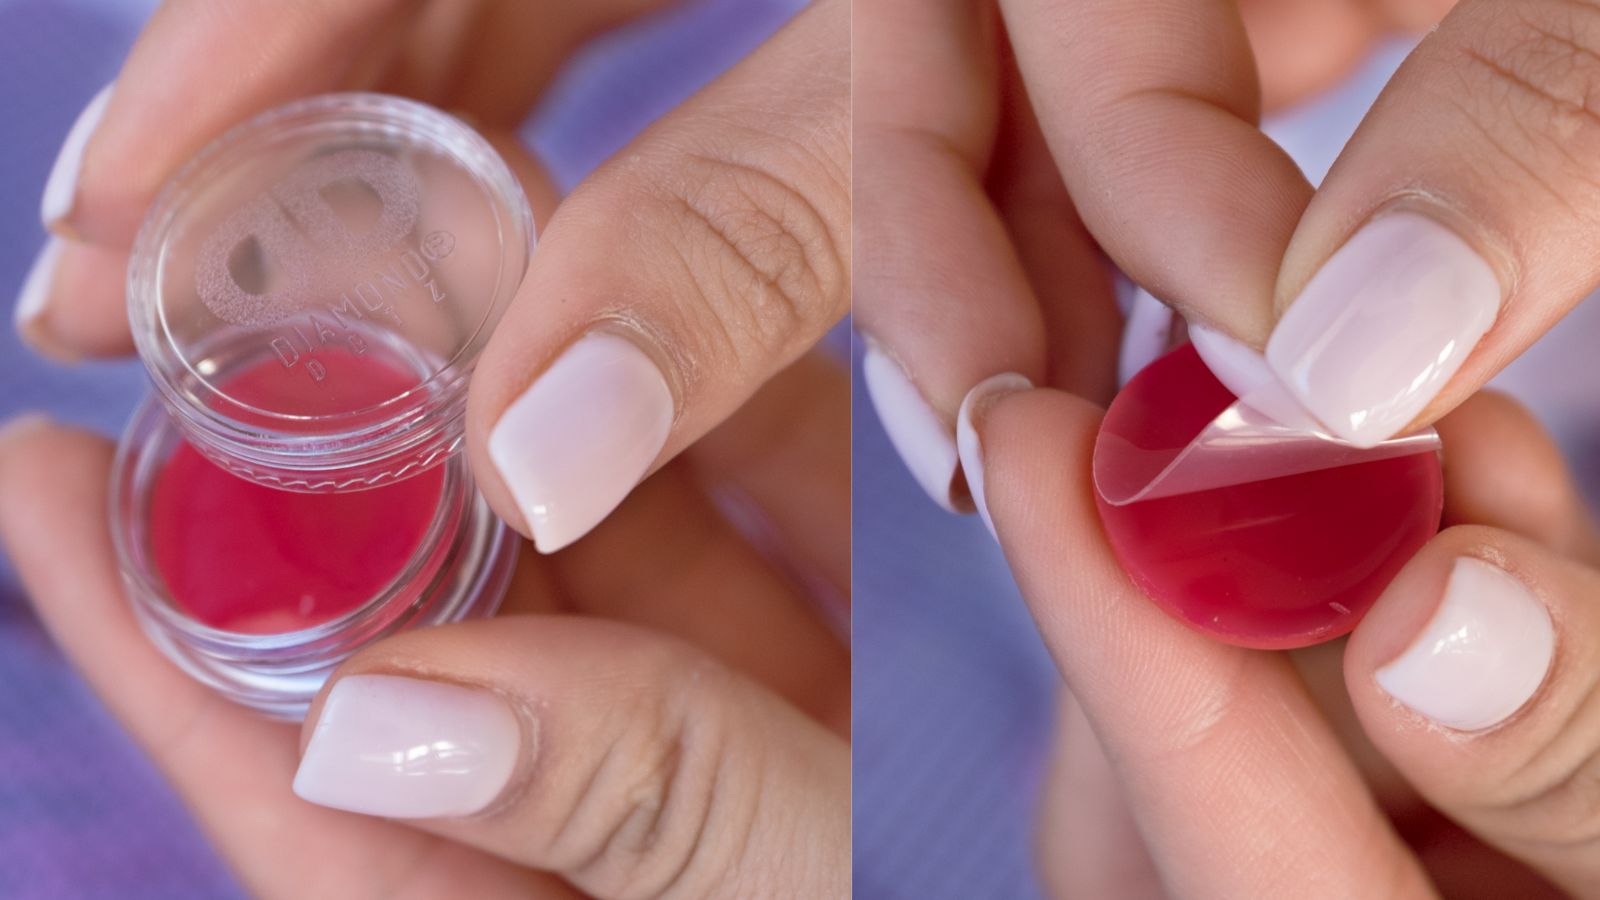
Twist to open the Diamond Dotz wax caddy. Peel away clear film from wax surface.
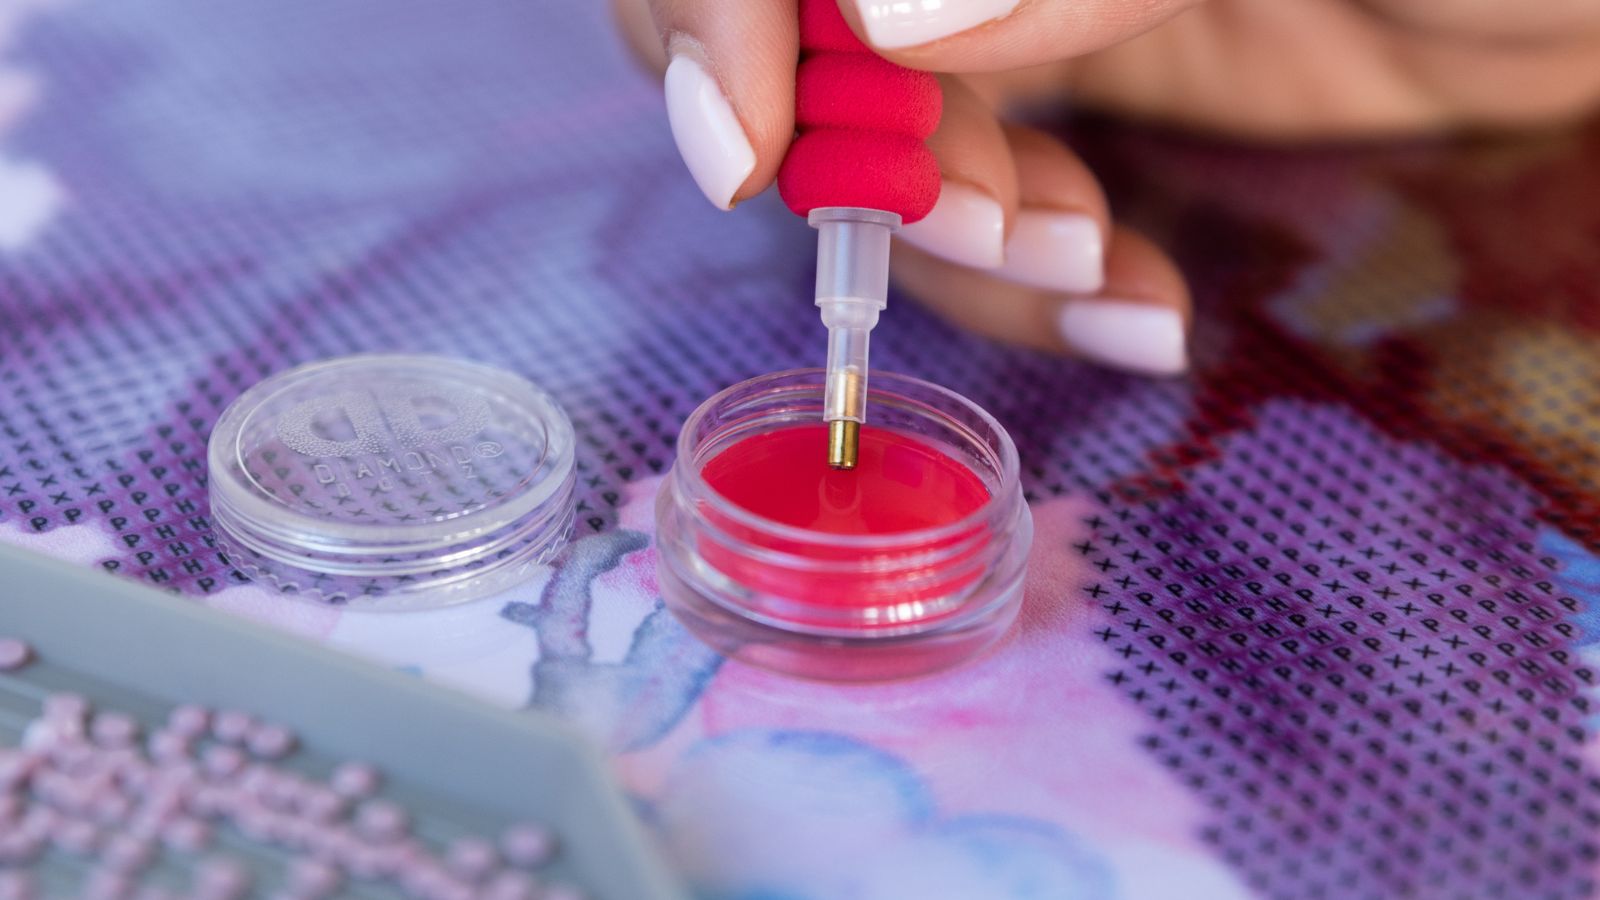
Press the head of the Diamond Dotz stylus firmly into the wax several times before picking up your first Diamond Dotz.
TIP: It is important to coat/load the head of your stylus very well with wax before picking up the first Diamond Dotz. You may also move the head of the stylus from side to side in the wax at first to ensure a good coating. Once a good coating is achieved you will not need to dip into the wax caddy so often.
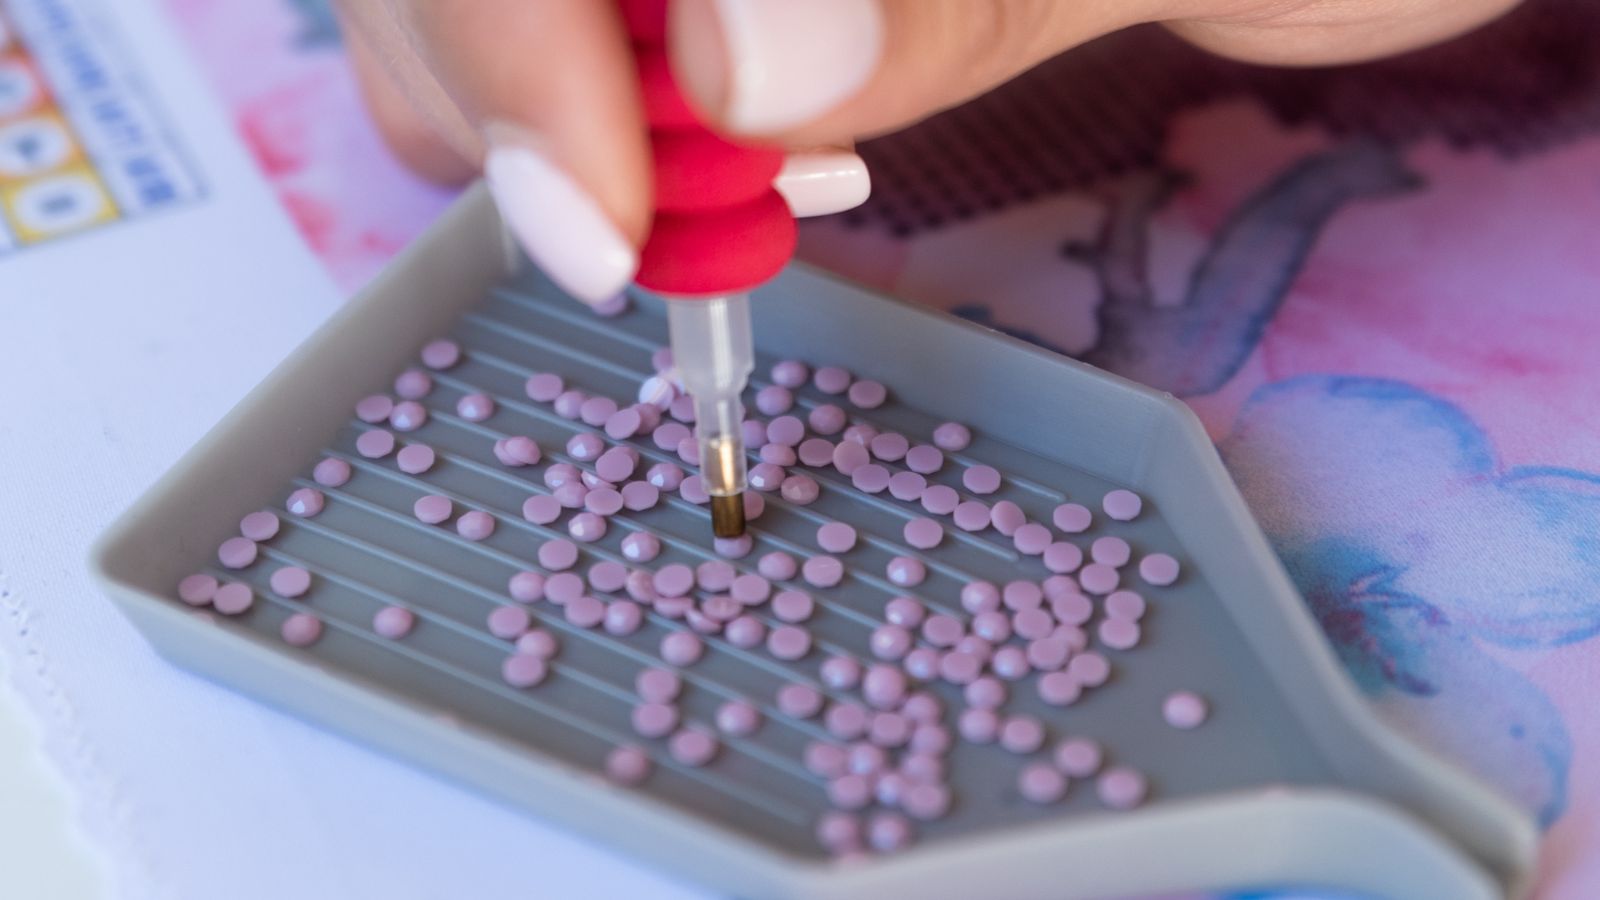
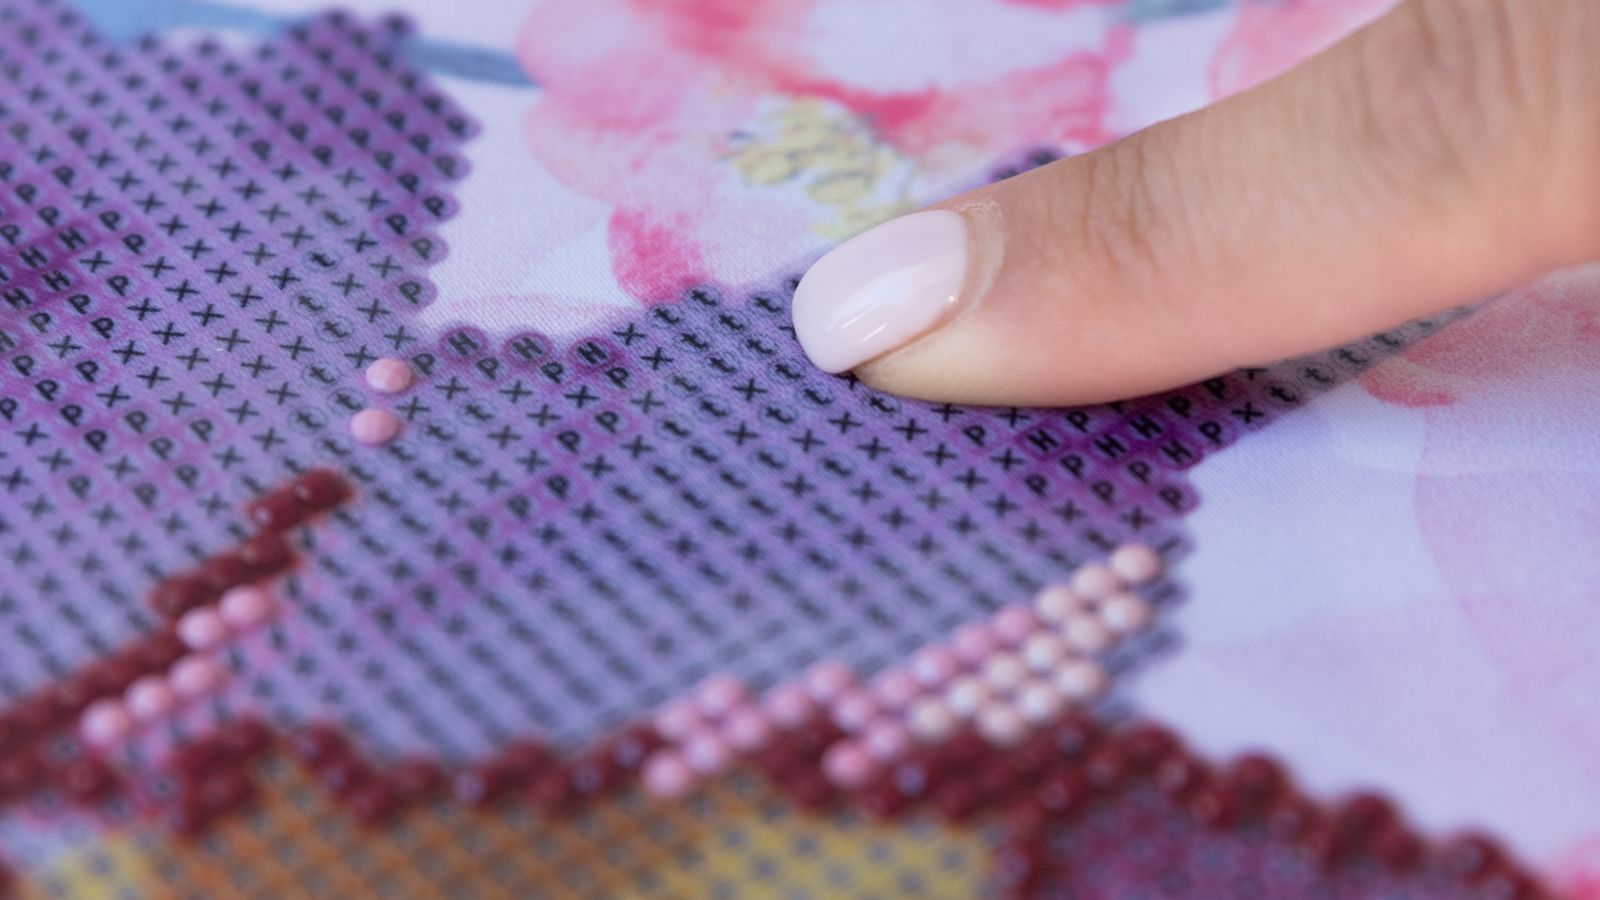
Pick up the Diamond Dotz from the Diamond Dotz tray making sure to place the head of the stylus over the round/faceted side.

Place the Diamond Dotz onto the corresponding symbol on the chart. The adhesive surface on the chart makes it easy to place and stick the flat side of the Diamond Dotz down. Continue the process working one shade at a time within sections.
TIP: Diamonds can be repositioned after sticking however it is recommended to avoid repositioning when possible.
When you are not working on your project, place the protective film back over the chart to protect it from dust.
TIP: Close the Diamond Dotz wax caddy well to stop the wax from becoming dry.
TIP: Wrap the head of your Diamond Dotz stylus in plastic when not in use to prevent it from drying out.
If you want to see diamond painting in action, check out our YouTube video that shows you how easy it is to get started.
That’s it! You are now well on your way to becoming an official diamond painting lover – it does not take long, that is for sure! Diamond painting is a rewarding crafting activity that not only yields a lovely sparkling piece of art upon completion, but that is packed with satisfaction every dot of the way. Pick a favorite diamond painting from our huge collection of premium kits and get started. Enjoy!
CARE INSTRUCTIONS:
If the fabric becomes soiled during the working process it can be cleaned by gently wiping with a soft damp cloth. Avoid scrubbing and use cold water.
When your design is complete, lay the protective film over the top of the diamond area and using a cylindrical container such as a glass bottle or rolling pin, gently roll over to secure the diamonds on the sticky surface.
To store, roll the fabric piece gently, design facing in.
Keep away from ink pens and paints.
Do not wash, iron or dry clean.